Why Mountain Ridges Look Different from Every Side
Why mountain ridges look different from every side comes down to rock, slope, and viewpoint. Learn to compare profiles without crowning one as definitive.
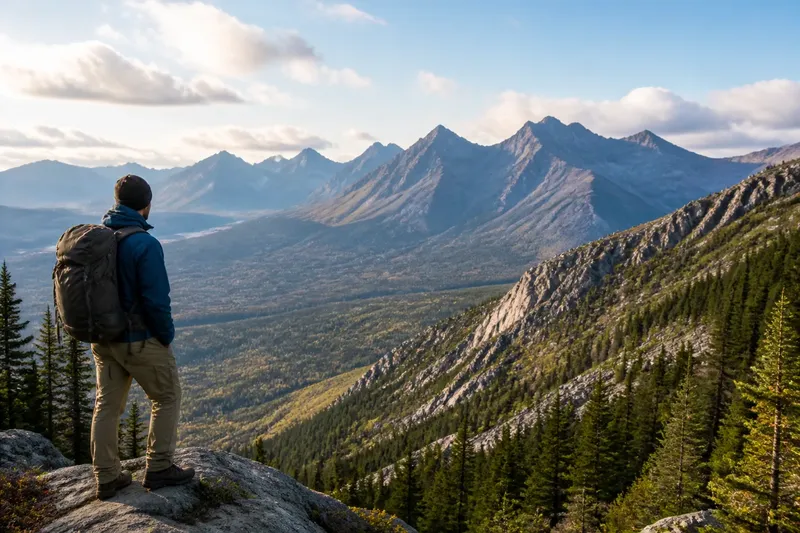
Why mountain ridges look different from every side becomes clear when you compare the same crest from two places: a sharp sawtooth from the valley may flatten into a broad shoulder from the next slope. The ridge has not changed. Your sightline has exposed a different arrangement of slopes, rock layers, and projecting spurs.
To read a ridge rather than simply name its outline, begin with a view you can describe, then compare it with another. The useful question is not which profile is the real one, but what each position lets you see—and what it hides.
Choose a viewpoint you can describe
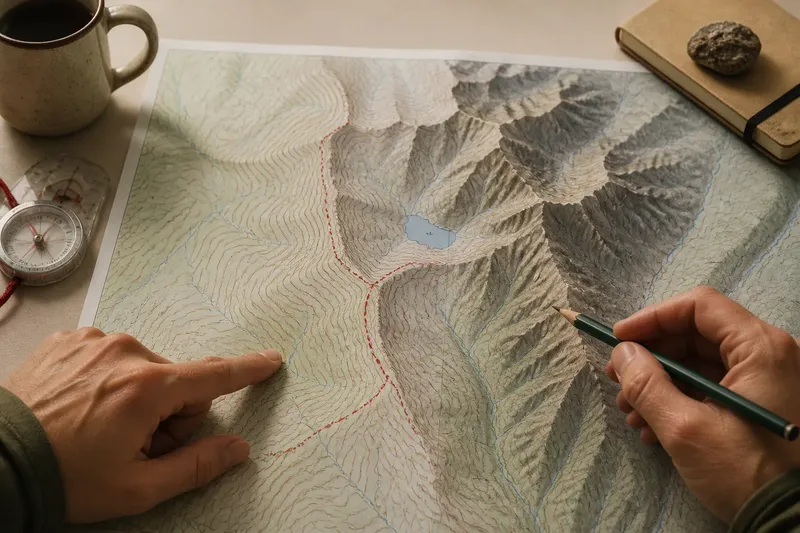
Start with a stable, safe place where the crest is visible. Note your position in ordinary terms: on the valley floor, across a ravine, or partway up an opposing hillside. A map can help you identify which side of the ridge faces you, but you do not need to interpret a contour pattern to begin. The point is to keep track of where your eyes are looking from.
Pick a recognizable feature on the skyline, such as a summit, notch, or blunt shoulder. Then identify the apparent high line leading toward it. A ridge is a long crest separating slopes; it may branch, bend, or descend through saddles. From one position, overlapping pieces can make separate spurs look like one continuous edge.
Describe the outline without judging it: rounded or angular, even or broken, steep-sided or gently sloping. Note whether the skyline rises gradually, drops into a notch, or hides behind a nearer shoulder. These plain observations are more useful than calling a ridge dramatic or symmetrical, because they can be checked from a second view.
Separate the crest from the slopes beneath it
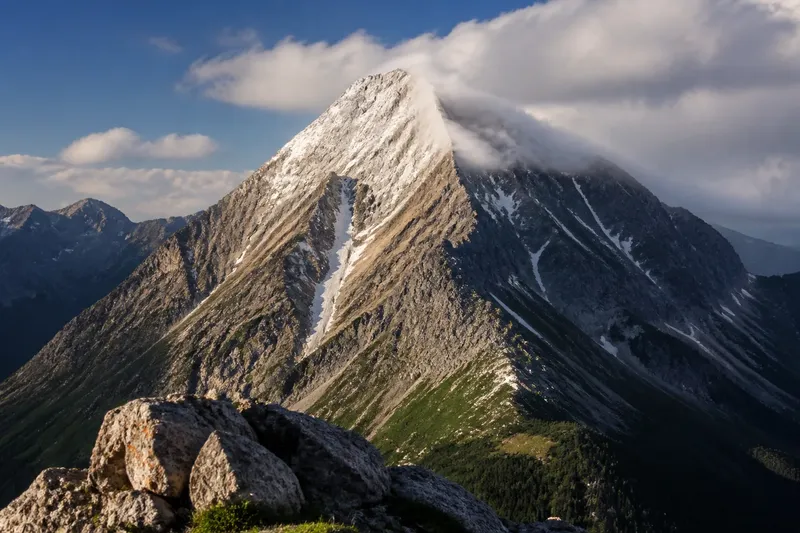
The skyline is only the upper edge of the visible land. A steep slope can make a ridge seem narrow and blade-like; a gentler slope may broaden the same high ground into a plateau-like shoulder. Look below the crest for clues: a rock wall, a long open flank, a series of ledges, or a convex slope that rounds outward.
Slope angle affects how much of the mountain appears to rise abruptly above its surroundings. A steep face presents a large change in elevation over a short horizontal distance, so its boundary can look crisp. A gradual face blends into nearby high ground, leaving the ridge line less sharply defined. The contrast between those two sides can make a single mountain seem to have different shapes, even before distance and light enter the picture.
Also watch for spurs—ribs of higher ground running away from the main crest. Seen end-on, a spur may point toward you and conceal part of the ridge behind it. Seen from the side, it can appear as a long diagonal line. It is a little like turning a folded sheet of cardboard: the visible edge changes with your position, though the folds remain in place.
Look for rock layers and breaks in the profile
Rock structure can give a slope its visual rhythm. Resistant layers may stand out as ledges or ribs, while softer material tends to weather into smoother recesses. If a ridge shows repeated bands, check whether they continue across a slope or stop at a gully. Their direction can reveal that you are seeing tilted layers rather than a row of separate peaks.
Layers do not always appear as neat stripes. Vegetation, loose debris, shadow, and distance may soften or hide them. Still, changes in rock color or texture can help explain why one section forms a cliff and the next a sloping bench. A ridge with alternating ledges and hollows may look serrated from across a valley, while an oblique view compresses those features into a quieter, uneven ramp.
Gullies and ravines matter, too. They cut into a face and divide it into ribs, making the profile look more intricate from a viewpoint that faces those cuts. From another angle, the ribs overlap and the notches disappear behind one another. What looks like a single clean wall may therefore be a set of separate faces divided by hidden channels.
Change position and compare the sightlines
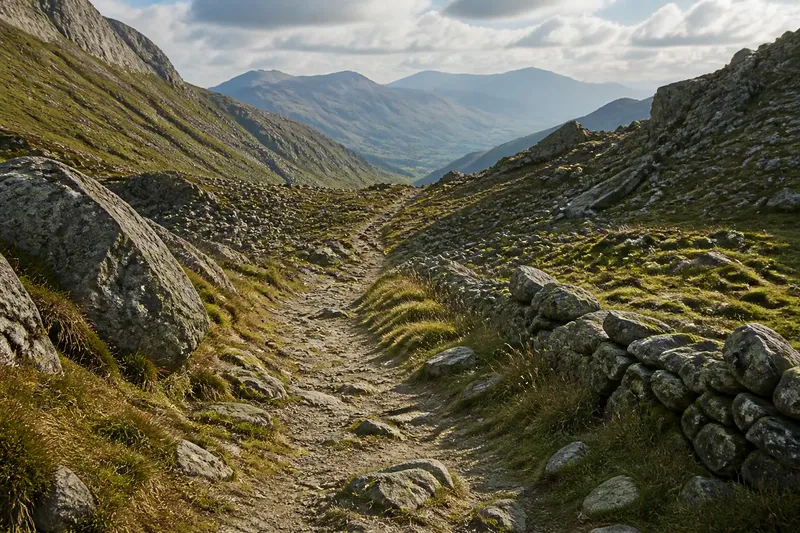
Once you have a first description, move to another safe viewpoint that exposes a different direction of the ridge. A trail bend, an open clearing, or a permitted overlook may be enough. Avoid choosing a new position merely because it is farther away; the best comparison changes the angle from which you see the crest.
At the second point, find the same summit or notch. Ask what has shifted: Does the summit still look sharp? Has the apparent ridge become wider? Can you now see a back slope that was hidden? Check whether a feature that seemed to touch the skyline is actually a nearer spur crossing in front of it.
Imagine you are looking at a ridge from a valley, where a dark notch makes the summit seem like a pointed tooth. From a trail on the neighboring slope, the same notch aligns with a nearer spur, and the summit reads as a broad shoulder instead. The observable change is the outline and the overlap, not a change in the land itself.
If you cannot visit another location, compare photographs taken from clearly different positions, or use a map to orient the views. Keep the camera direction in mind: a photograph can crop a ridge, flatten depth, or emphasize a foreground shoulder. It is evidence of one sightline, not a complete portrait.
Why does the same ridge seem taller from one side?
A nearby steep face can dominate the view, while a distant or gradual side blends into surrounding high ground. Foreground slopes and overlapping spurs also alter the apparent height of the crest, so visual prominence depends partly on where you stand.
Can rock layers change the outline of a ridge?
Yes. More resistant layers can form ledges or ribs, while less resistant material may erode into recesses. Their visibility depends on the angle of view and on whether vegetation, debris, or shadow obscures the slope.
Is the sharpest skyline the ridge’s true shape?
No single skyline captures every side of a ridge. A sharp profile records a particular alignment of crest, slope, and viewpoint; another position may reveal a broad flank, hidden spur, or shallow saddle instead.
How can a map help compare ridge views?
A map can help you identify which side of the crest faces a viewpoint and where spurs or saddles may lie. It supports orientation, but the land’s visible profile still depends on sightline, slope, and features that overlap from the ground.
Keep each view as part of the same landform
When you compare profiles, record the viewpoint and the features you can actually identify. A summit, notch, spur, and slope texture make a more useful description than a single label such as sharp or rounded. Those details let another observer understand which side you saw without implying that your angle defines the whole ridge.
For a final check, return to the first view in your mind and ask what the second one added. Perhaps it revealed a hidden back slope, or showed that a jagged skyline came from overlapping ribs. That comparison is the practical answer to why mountain ridges look different from every side: each view selects a different slice of the same connected terrain.